DIY Wood Look Staircase Using Paint + Glaze
This staircase has gone through a few phases in our home. When we first moved in, it was painted grey and honestly just didn’t feel like me. I wanted a quick, easy fix at the time, so I painted it black without really having a clear vision for the overall style of our home.
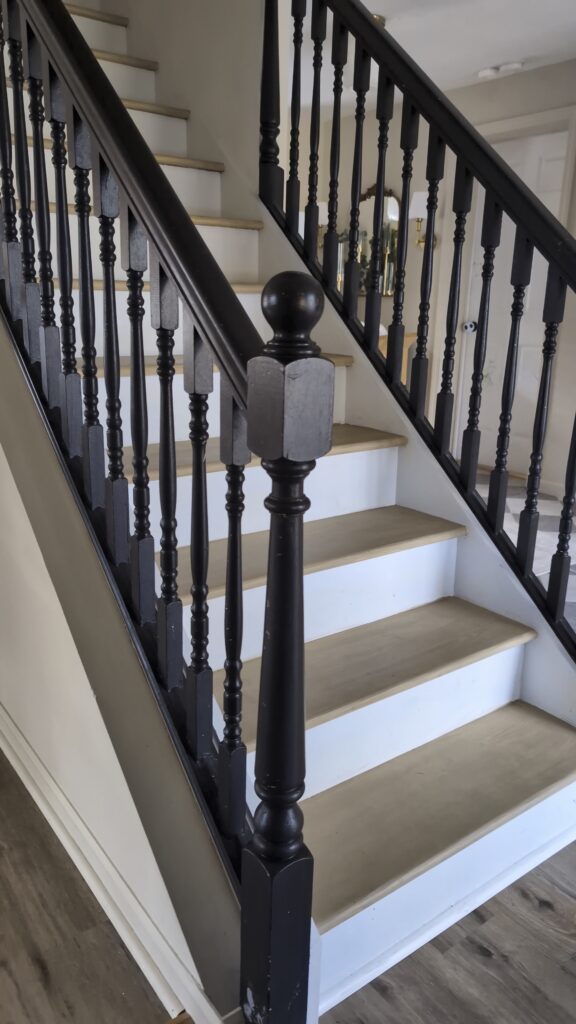
Since then, my style has evolved a lot. I’ve been leaning more into warm, cozy tones, and the black staircase just wasn’t fitting anymore. It felt too harsh for the direction I wanted my home to go.
At first, I tried sanding everything back down to raw wood… and let me just say, that was not it. It was messy, super time consuming, and honestly not realistic with kids and everything else going on.
So I pivoted.
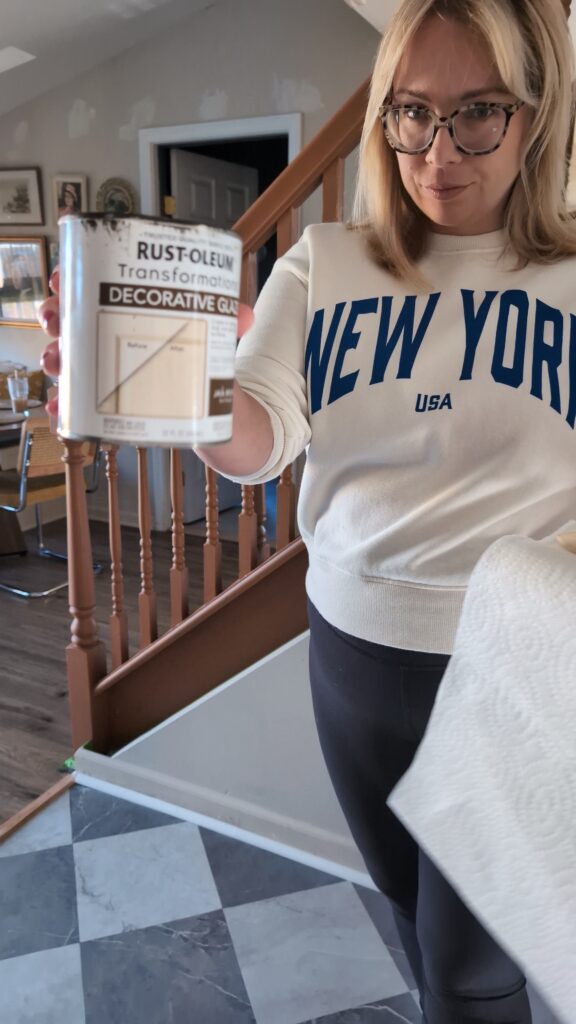
I actually asked AI for a solution (lol), and it suggested painting the staircase and using a glaze to create a wood look. I was skeptical at first, but it ended up being one of the best decisions I’ve made in this house.
What I Used
(As a Lowe’s Creator, I may earn a commission when you shop my picks!)
- Sherwin Williams Copper Mountain (base color)
- Rust-Oleum Java Brown Decorative Glaze
- Chip brush
- Paint brush
- Painter’s tape
- Polyurethane
You can also shop more of my home here.
(as an Amazon associate, I earn from qualifying purchases)
Before I get into the process, I will say this… my biggest mistake was not priming first. I thought I was saving time by skipping that step, but it ended up taking way more coats of paint than it should have. Lesson learned. I will never skip primer again.
How I Did It
- Lightly sand your surface
- Prime first (don’t skip this like I did)
- Paint your base color (don’t panic at this stage)
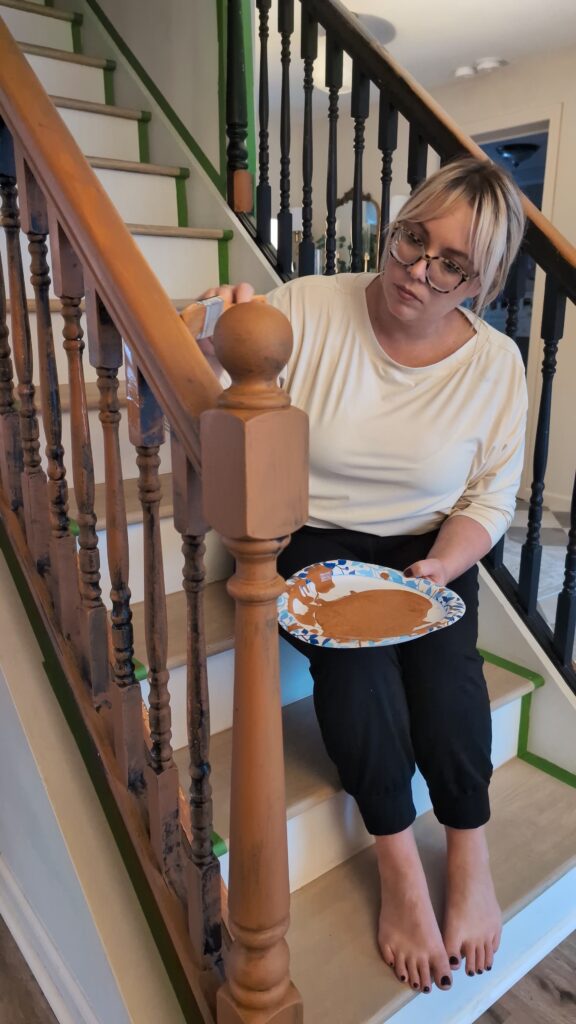
- Apply glaze in sections
- Use a chip brush to drag and layer the glaze to mimic wood grain
The glaze was honestly the scariest part. At first, I thought I completely ruined it. But as I kept working it with the brush, it started to look more and more like real wood.
Trust the process here. It looks wrong before it looks right.
- Let everything dry
- Seal with polyurethane
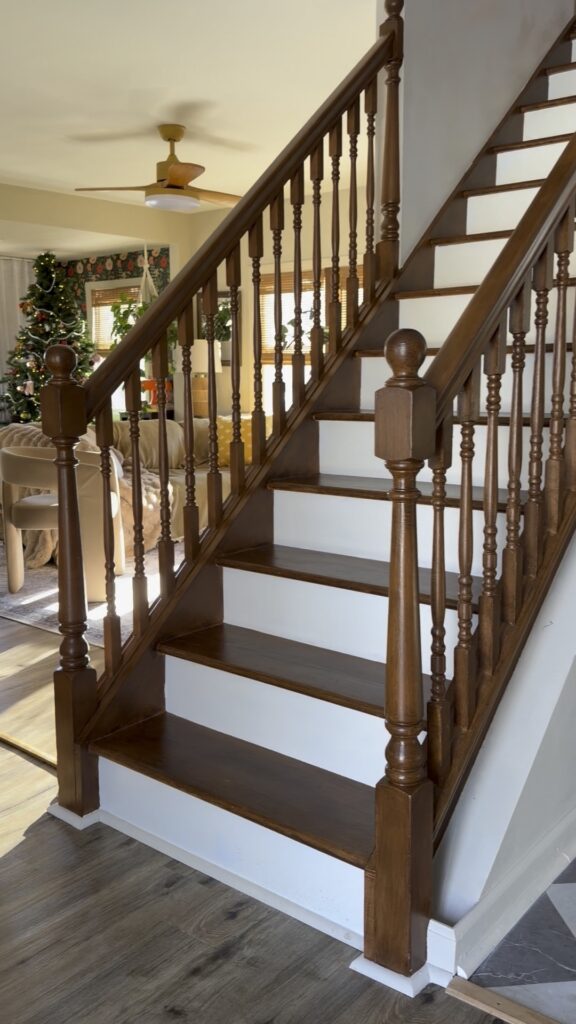
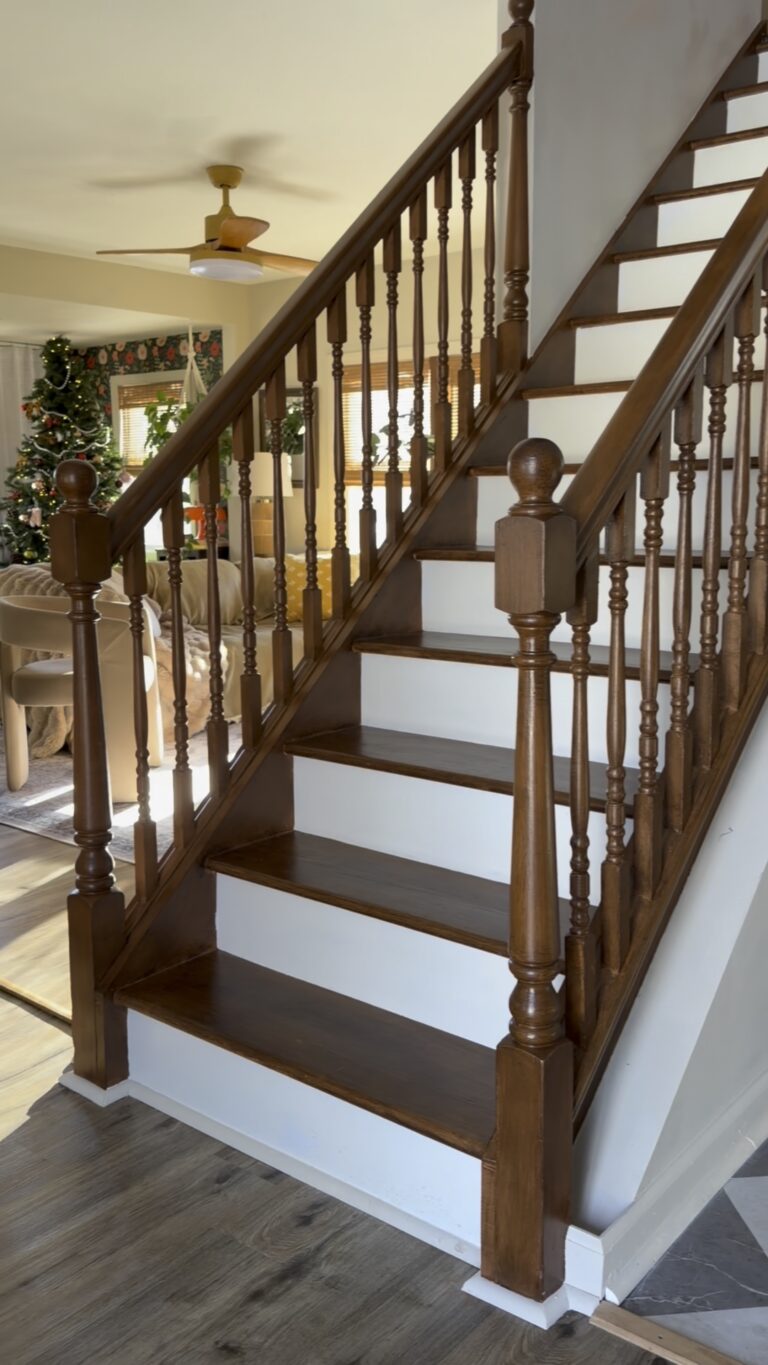
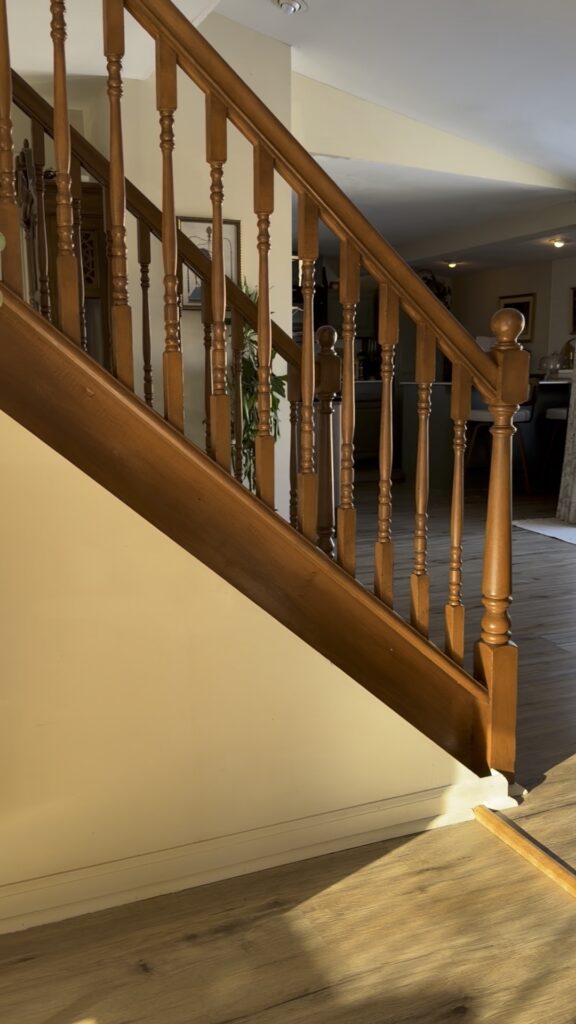
Final Result
This is easily one of my favorite projects I’ve done in our home. It completely transformed the space and made everything feel so much warmer.
And the best part… it actually holds up. Even with two kids running up and down these stairs daily, it’s been super durable.
Final Thoughts
If you’re looking for a way to warm up your home without replacing your stairs, this is such a good option. It’s budget-friendly, beginner-friendly, and makes a huge impact.
If you liked this project, you might also like:
How I Mixed Bold Floral Wallpaper Without Overwhelming The Room
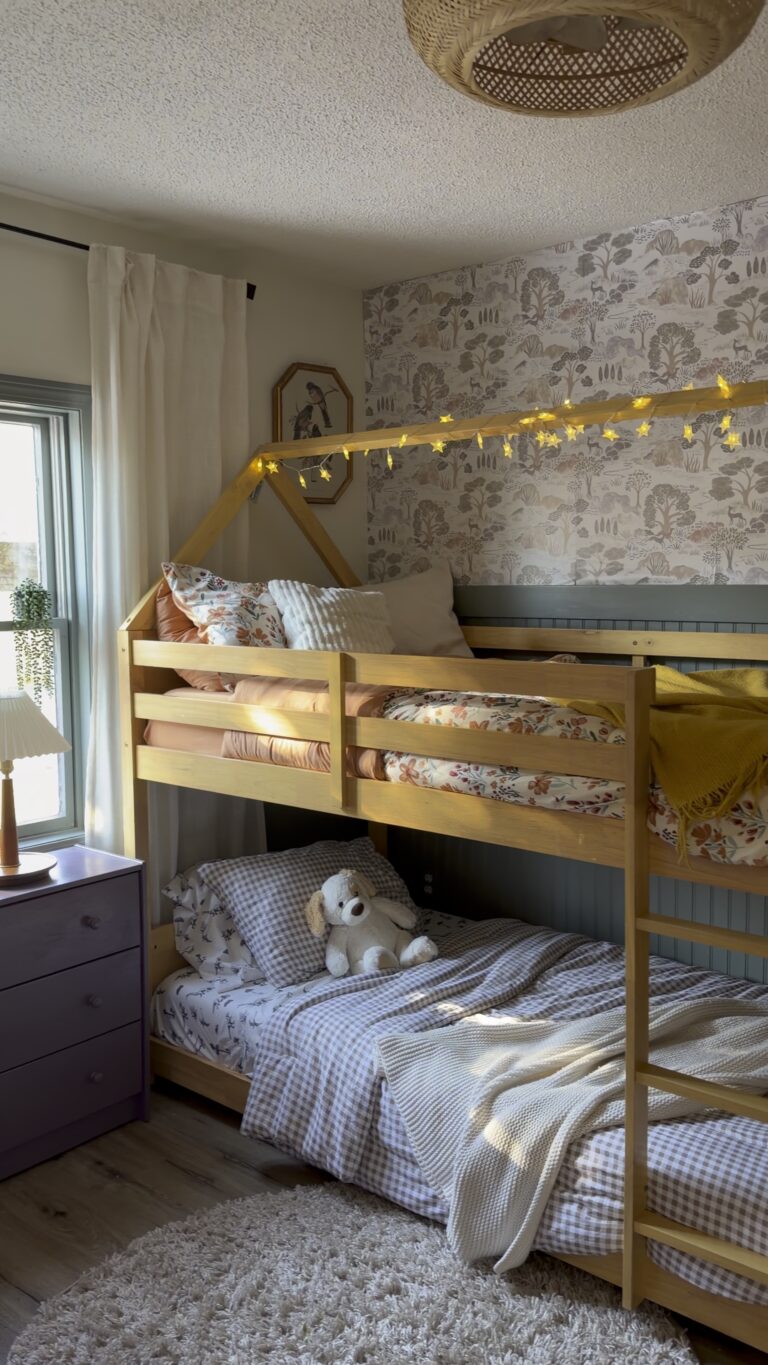
Shared Kids Bedroom Transformation
And if you want to shop pieces in my home:
Shop My Home