
My Kitchen Transformation (Before + After + Everything I Changed)
Affiliate Disclosure
This post contains affiliate links, which means I may earn a small commission if you purchase through them, at no extra cost to you. I only share products I genuinely use and love. As an Amazon Associate, I earn from qualifying purchases.
Intro
This kitchen has gone through a few different phases before ending up how it looks now.
I didn’t want a full renovation, just a space that felt warmer, more collected, and actually like me. Most of what we did were simple changes, but together they completely transformed the space.
Before
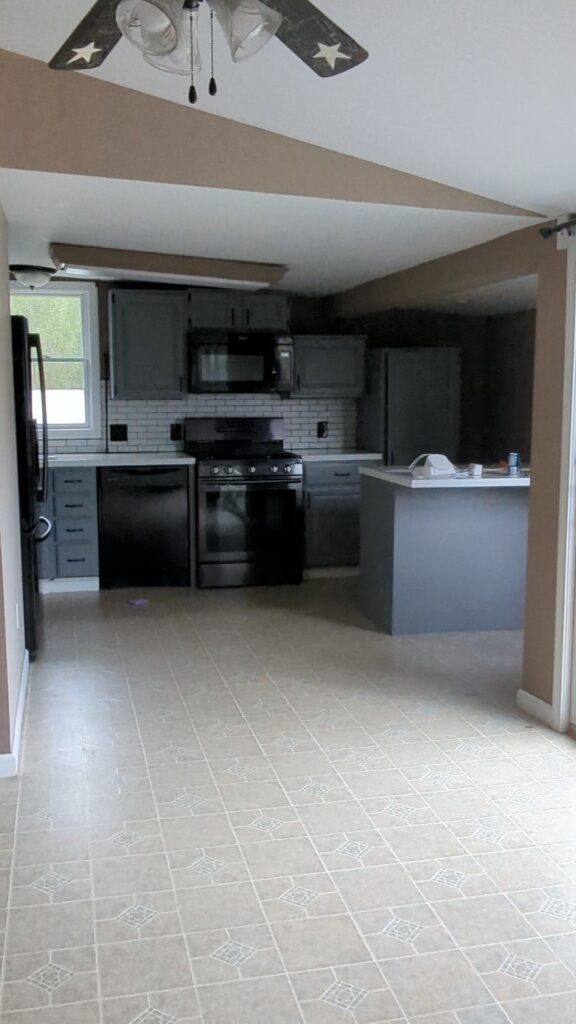
When we first moved in, the layout wasn’t terrible, but it felt flat, dark, and didn’t have any personality. Everything just blended together and it didn’t feel like a space I wanted to spend time in.
A Quick In-Between Phase
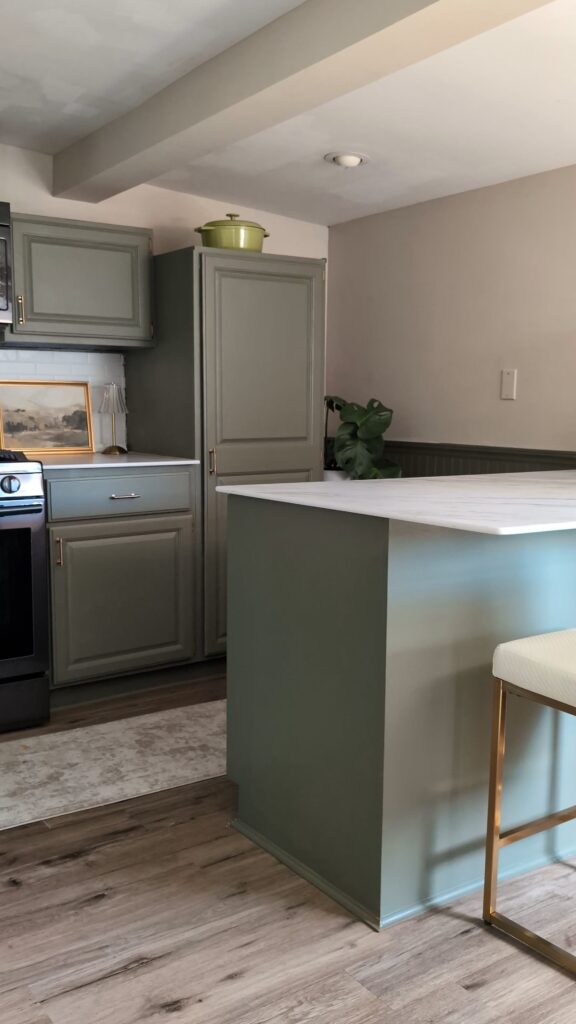
Before this version of the kitchen, there was actually another phase in between.
After the original space, I painted everything a soft sage green. I really liked it at the time and it definitely made the kitchen feel calmer and more updated.
But over time, I realized it didn’t fully reflect my style anymore. It started to feel a little too safe, and honestly a bit like that “millennial sage green” look you see everywhere.
I wanted something that felt more personal and a little more interesting, which is what led me to the direction it is now.
During


These little moments made a big difference and show that this wasn’t a full gut renovation, just a series of smaller updates over time.
What I Changed
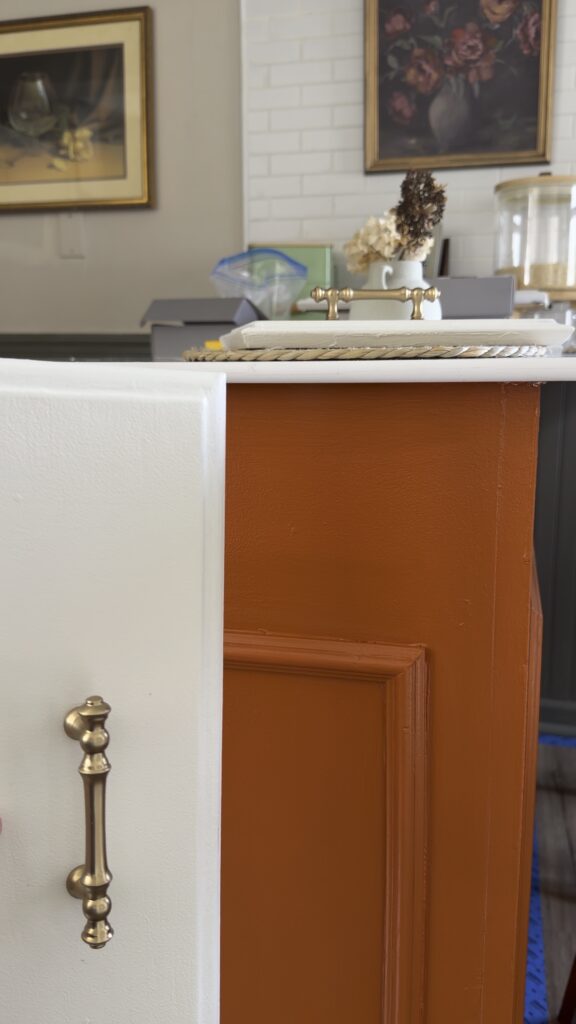
Paint (Biggest Impact)

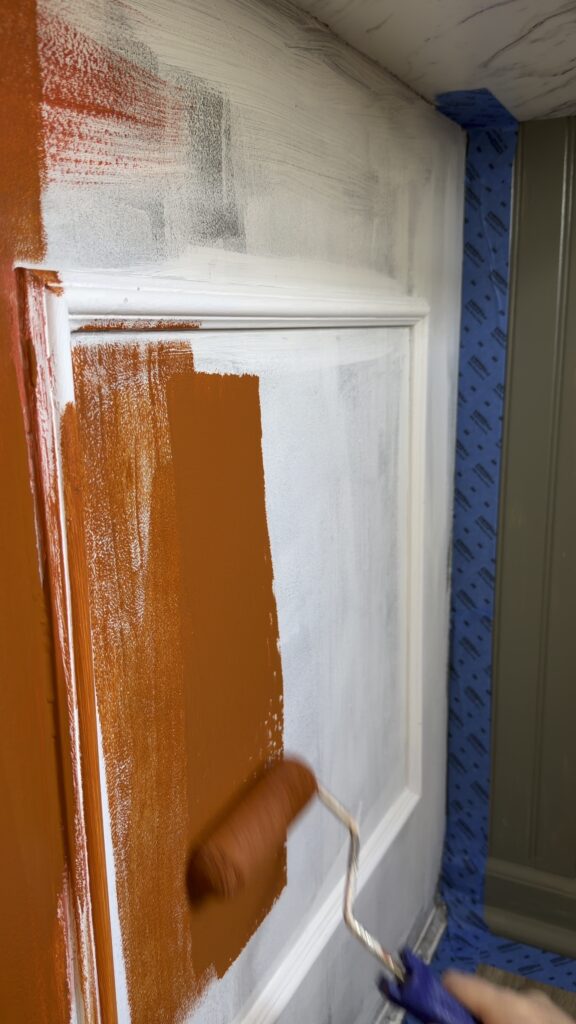
I kept the original cabinets and just painted them, which made the biggest difference.
- Primed first
- Cabinets: Sherwin Williams Creamy
- Island: Behr Falling Leaves
After living with the sage green for a while, I knew I wanted something warmer and more unique to my style. The creamy cabinets feel soft and timeless, and the island adds just enough color without taking over the space.
Removed Microwave + Added Range Hood
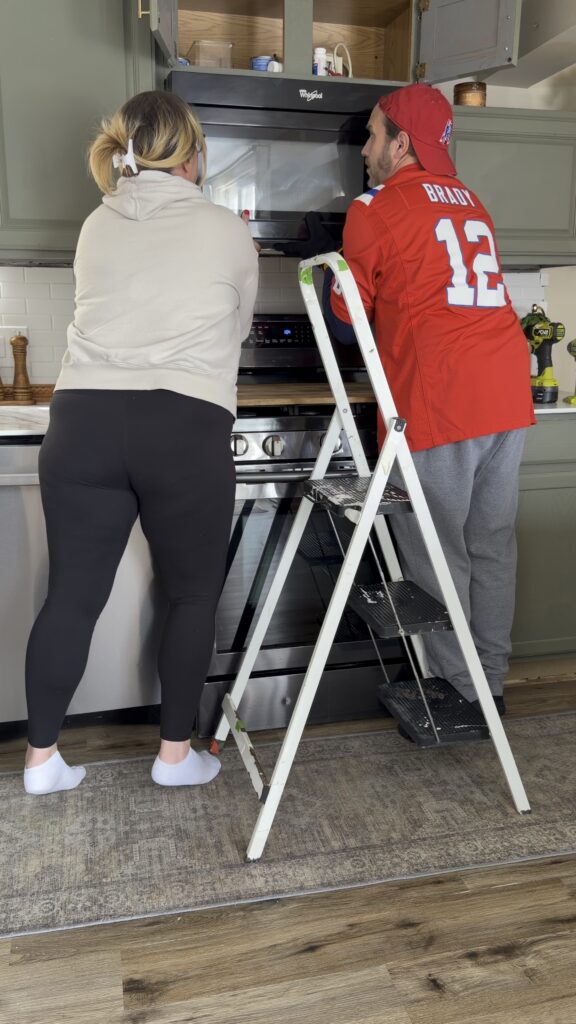
Removing the microwave over the range instantly made the kitchen feel more open. We swapped it for an affordable range hood and it completely changed the look of the space.
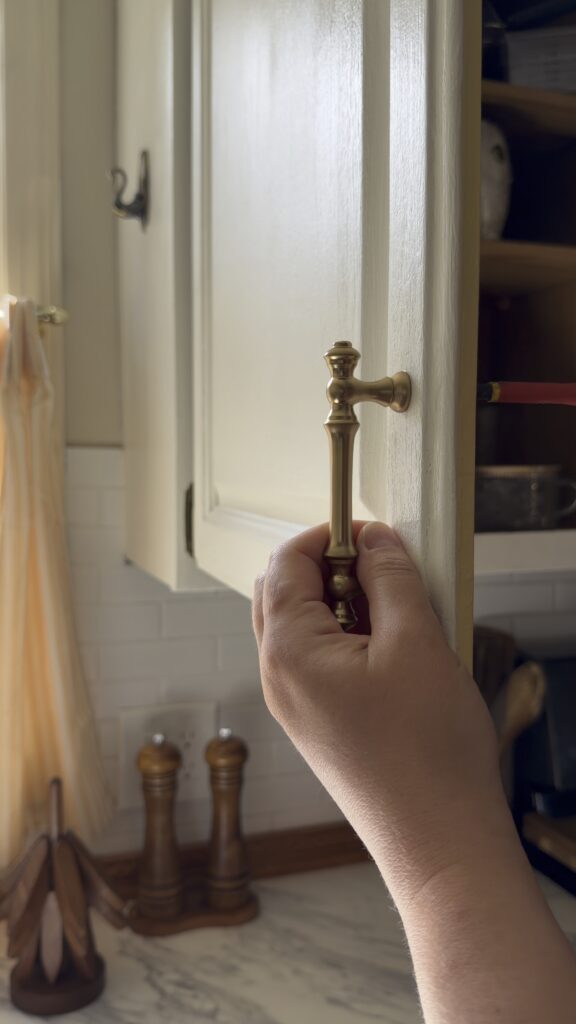
Cabinet Hardware
Switching out the hardware is one of the easiest ways to update a kitchen.
I used Amerdeco hardware and love how the brass ties everything together and adds a little warmth.
Countertops
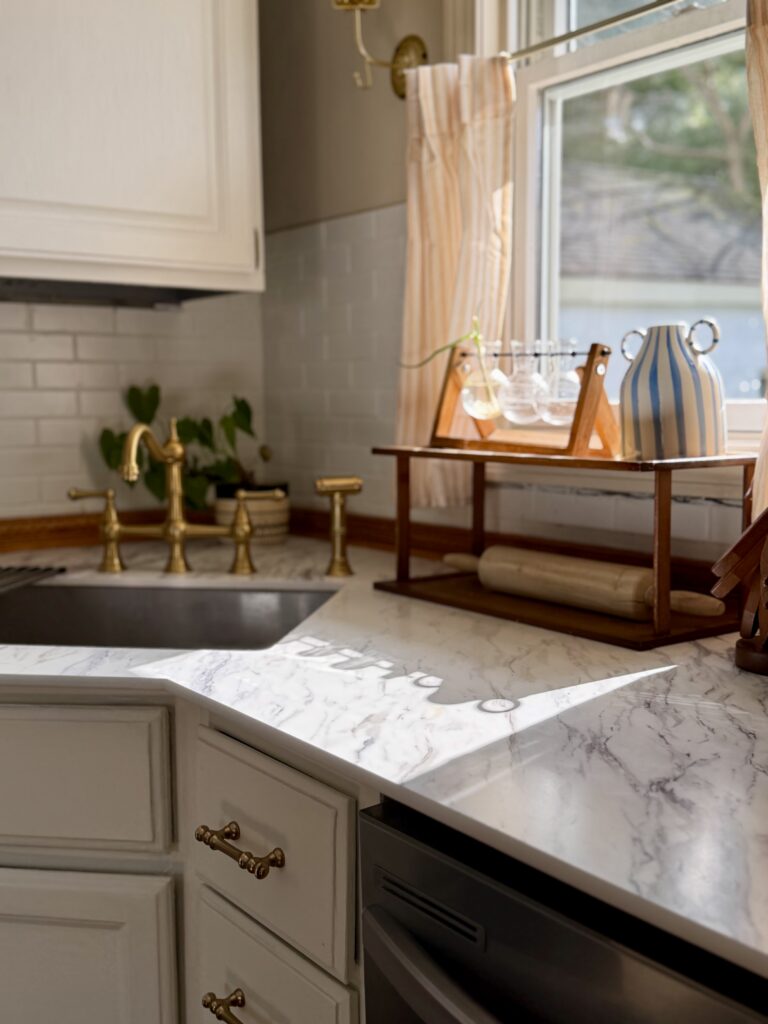
This was the biggest investment, but still much more affordable than stone.
- Thinscape in Calcutta Marble
- I love the thin profile
- The pattern looks really realistic in person
This was 100% worth it for me.
Faucet + Sink (Mixed Metals)
I mixed a brass faucet with a stainless sink and actually love the contrast. It keeps everything from feeling too matchy and adds a little dimension.
Grout Color Update
The original black grout felt too harsh with the white subway tile, so I used a grout colorant to soften it.
It’s one of those small changes that makes a big visual difference.
Removed Tall Cabinet + Added Shelves
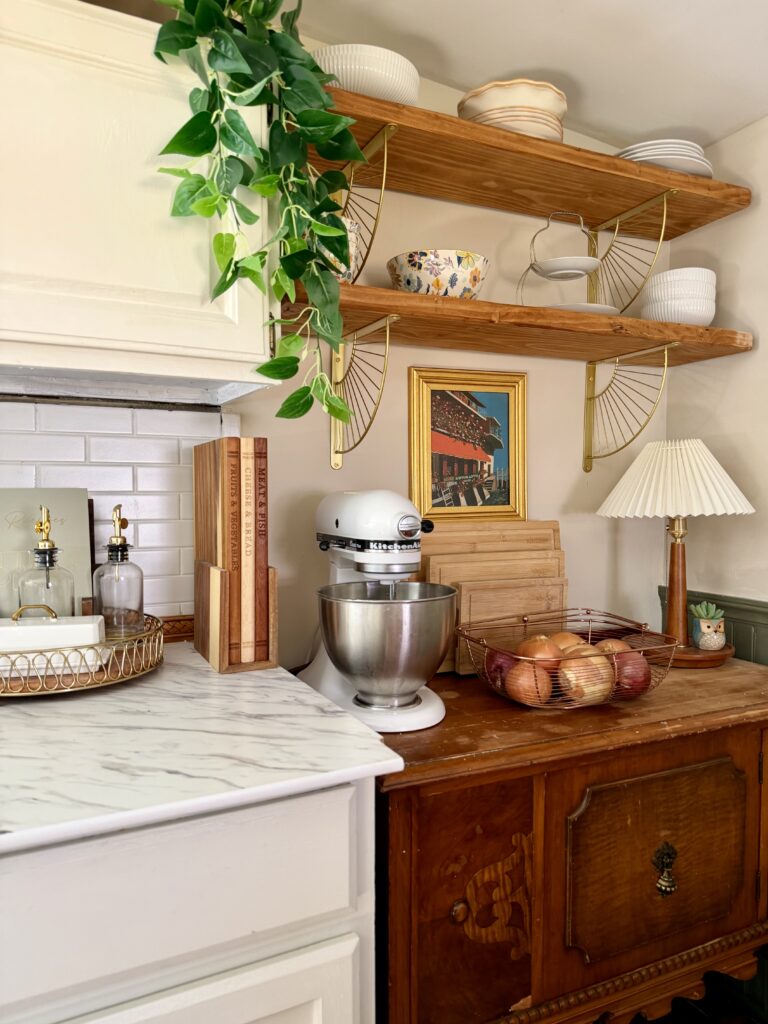
We removed a tall, awkward cabinet that wasn’t really functional and opened up that corner instead.
My fiancé cut and stained the wood shelves, and I used brackets from Amazon. This ended up being one of my favorite changes because it made the space feel lighter and more open.
After
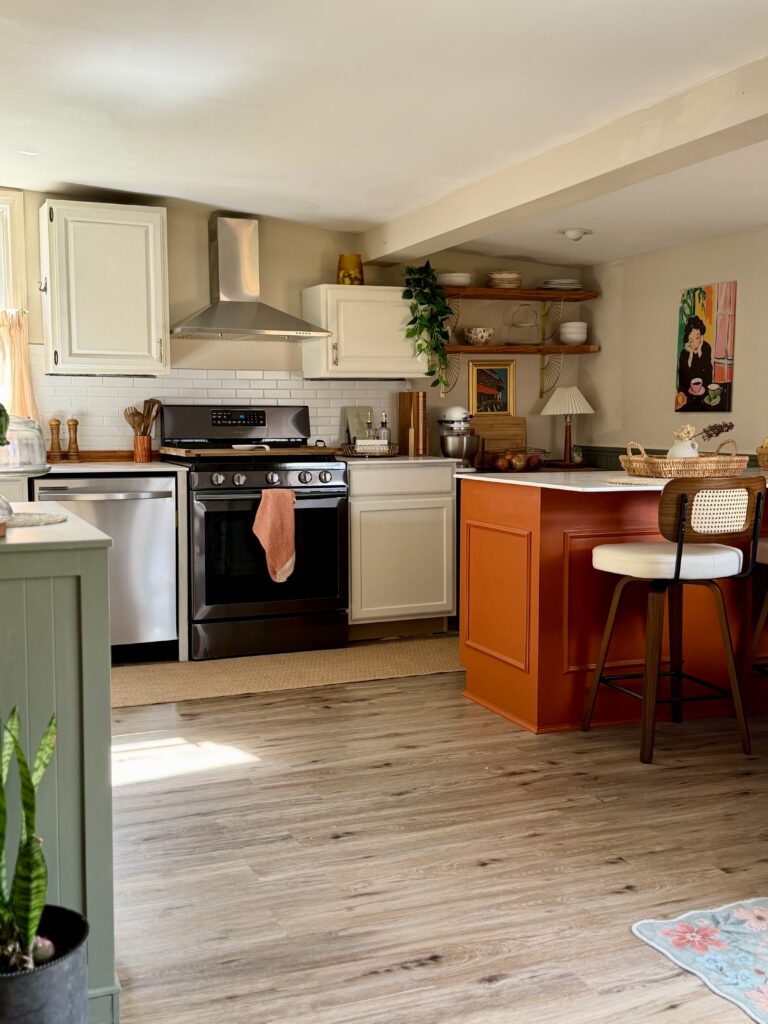
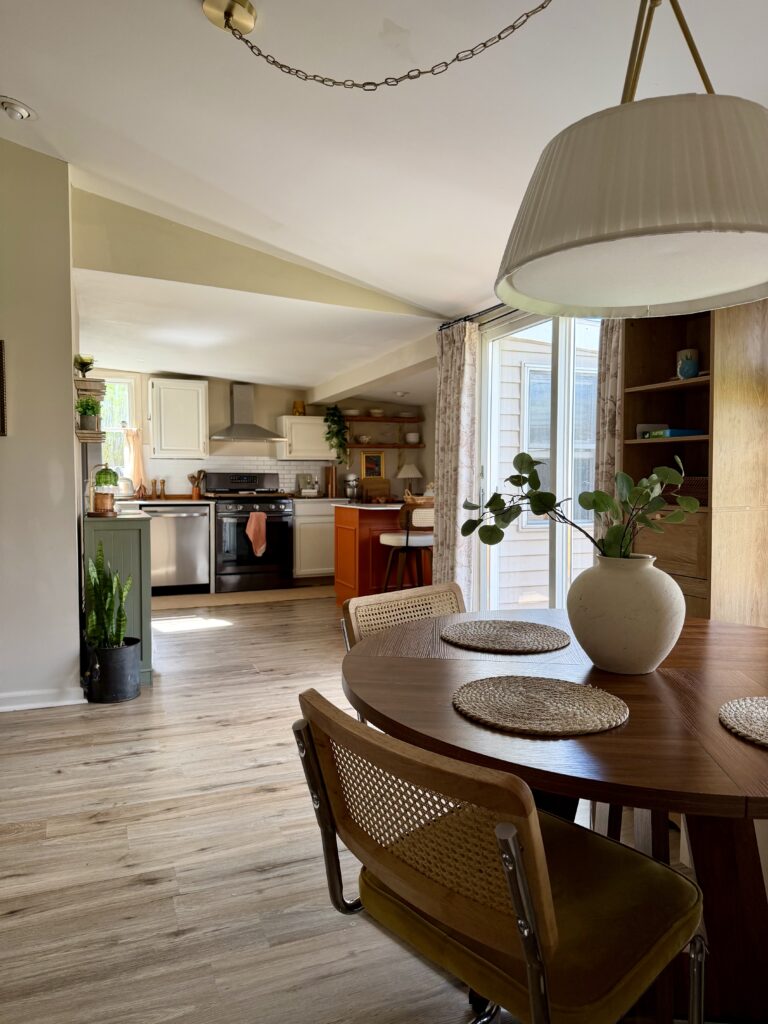
This is how the kitchen looks now, and it finally feels like a space that reflects my style.
It’s warmer, more layered, and just feels better to be in every day.
Styling + Finishing Touches
The finishing touches are what really pulled everything together.
- Jute runner rug
- Counter stools
- Simple decor
- Warm lighting
These small details are what make the space feel lived-in instead of staged.
Final Thoughts
This wasn’t a full renovation, just a series of smaller changes over time.
If you’re working with a kitchen you don’t love, you don’t have to gut everything. Paint, hardware, lighting, and layout changes can completely transform the space.
Shop My Kitchen
If you want to recreate this look or find similar pieces, you can shop everything here:
More From My Home
If you like this space, I’ve shared more areas of my home in a similar style.
I always lean toward warm tones, layered textures, and mixing old with new pieces to create that collected feel throughout the house.
You can see more here:
- Big Wall Decor Review: My Favorite Canvas Art in My Home
- DIY Wood Look Staircase Using Paint + Glaze
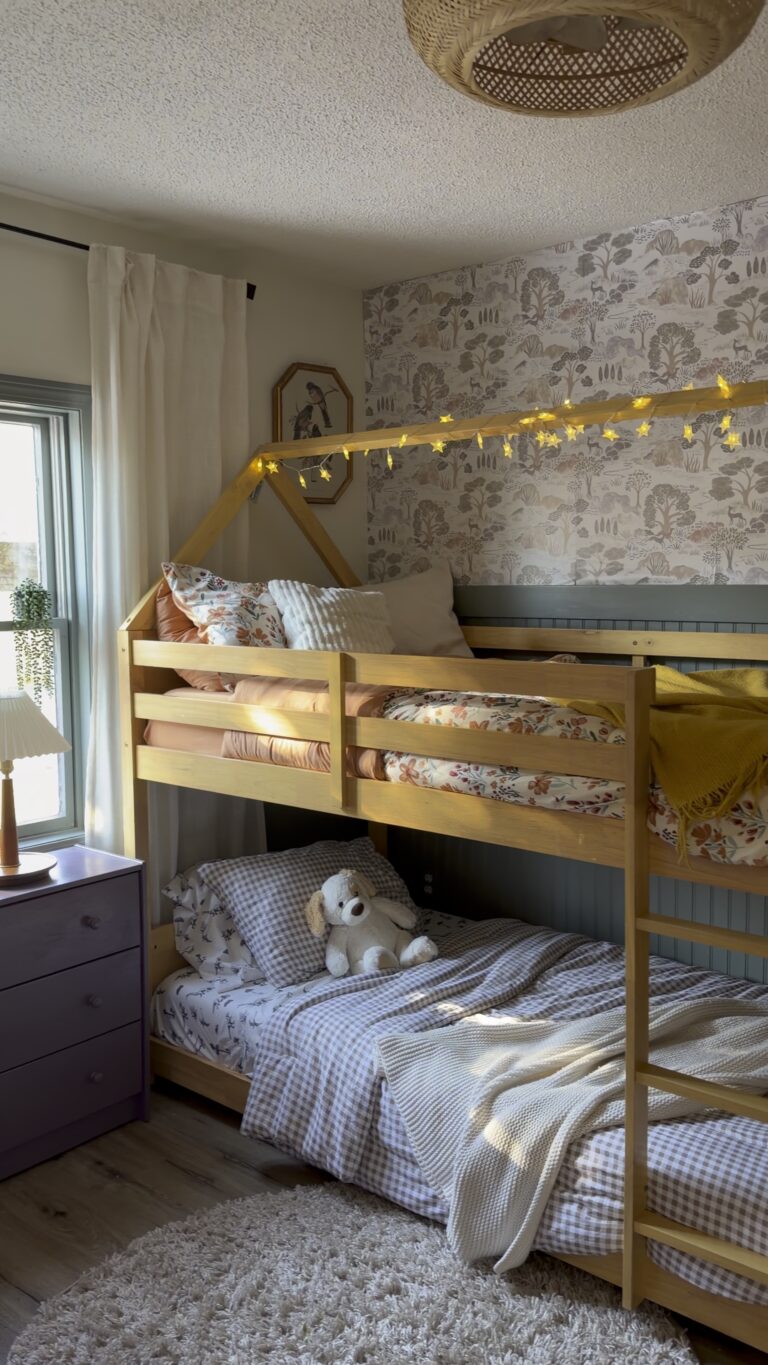
- A Cozy Shared Kids Bedroom Makeover: Creating a Space for an 8-Year-Old Girl and a 2-Year-Old Boy
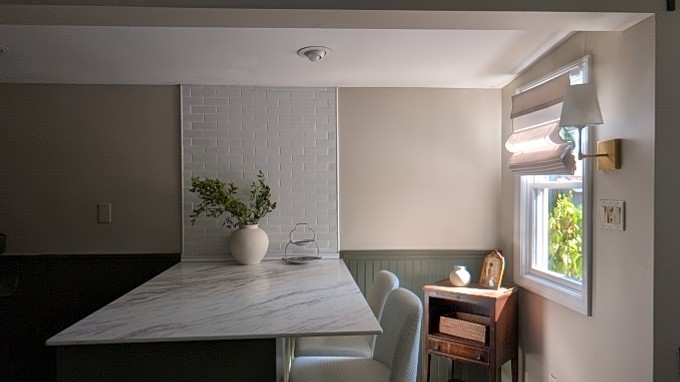
- My Breakfast Nook (A Little Corner I’ve Always Wanted)
Each space is a little different, but the same ideas carry throughout, simple updates, layered details, and creating a home that feels lived in, not overly styled
I love the new color of the island!