DIY Wood-Look Staircase Transformation
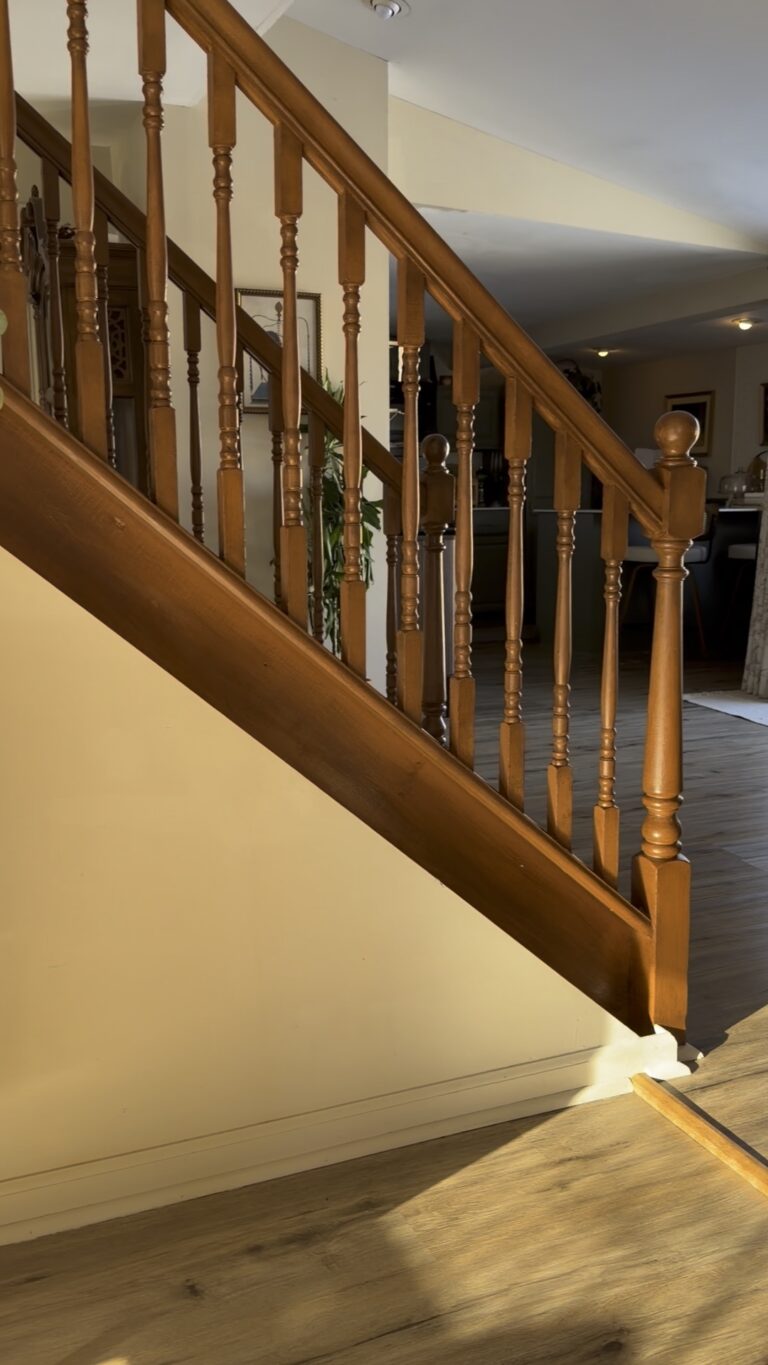
DIY Wood-Look Staircase Transformation (Using Just Paint + Glaze!)
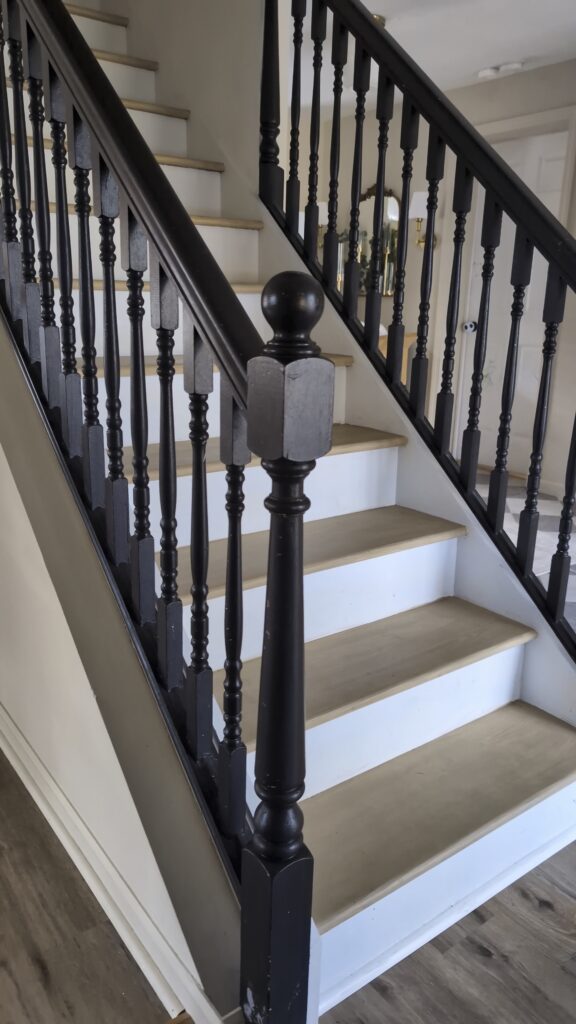
When we bought our home, the stairs were painted white and grey. I lived with it for a bit and even refreshed the look by painting the railings black and doing a white-oak wash on the treads… but deep down, I always wanted a warm wood staircase so I decided to transform the entire look using paint, glaze, and a simple chip brush. The end result looks shockingly real—like actual wood!
Why I Chose a Faux Wood Finish
Real staircase replacements can cost thousands. This method gives you a warm wood look for a fraction of the price, with no demo and no sanding down to bare wood. It’s beginner-friendly and incredibly satisfying.
Paint Colors That Look Like Real Wood
Below is the color I used but if you want your staircase darker or lighter just choose your base coat accordingly. The glaze is where the magic happens!
- Sherwin Williams –Copper Mountain — warm, rich, and ideal for creating mid-tone wood vibes.
🛒 Shop the paint here
What You’ll Need
- Base coat paint
- Rust-Oleum Decorative Glaze in Java Brown — 🛒 Shop it here
- Chip Brush (creates the wood grain effect) — 🛒 Shop chip brush
- Frog Tape painter’s tape — the only tape I trust for clean lines — 🛒 Shop Frog Tape
- Semi-Gloss Polyurethane (for durability + sheen) — 🛒 Shop polyurethane
How to Create a Faux Wood Staircase (Step-by-Step)
1. Prep Your Stairs
Clean everything, lightly scuff the surface with a sanding pad, and wipe down. No heavy sanding or stripping needed.
2. Paint Your Base Coat
Choose your wood-tone color and apply 1–2 coats until fully opaque. Don’t skip the primer like I did and spend you’re whole weekend applying more coats than necessary.
3. Apply the Java Brown Glaze
Use a chip brush to drag the glaze across the steps in long strokes. This creates the wood grain texture. Work quickly so it doesn’t dry mid-stroke. It might look crazy at first but don’t stress! I lightly dabbed the brush on a paper towel before I applied the glaze and kept brushing until it started to resemble wood grain. Trust me, it will work!
🛒 Shop the Java Brown Glaze
4. Seal the Finish
Finish with 1–2 coats of semi-gloss polyurethane for protection and a realistic wood sheen. This step is a must if you’ve got heavy traffic on your staircase! My little one’s latest trick is throwing things down the stairs so I definitely couldn’t risk skipping this step!
🛒 Shop Polyurethane
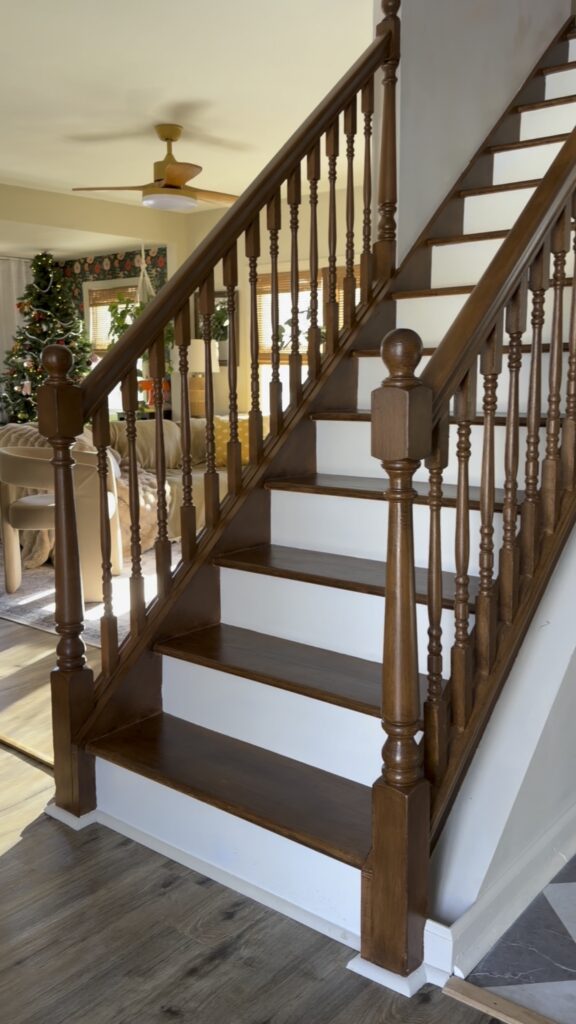
Final Thoughts
I’m obsessed with how this turned out! This easy DIY completely transformed our staircase and brought so much warmth into our home. If you try this project, be sure to tag me so I can see your transformation!
@twostorybungalow
This post contains affiliate links. As a Lowe’s Affiliate, I may earn from qualifying purchases. Thank you for supporting Two Story Bungalow!